I have a 10 year old Xanterx XM1800 inverter that I used on my Class C and other RV's. I decided to install it on my 32 DSBH. The ciricut I have it on is the GFCI circuit, which is the rear mini fridge, front mini fridge (since removed), bathroom plug and out side plug. I believe it also supplies power to the Norcold main fridge (so when using the inverter I will manually select gas, the Norcold on AC is a hog).
Step one is to unscrew the passenger side front underbelly. I had about 3 or 4 screws and then it took some effort to pull it down so I would have access. Next I fed my fish tape (BTW a real fish tape is mandatory) from the cabinet by the door to the front of the RV. A small wood panel inside the cabinet (removed by one wood screw) opens up access to the hole. See picture below.
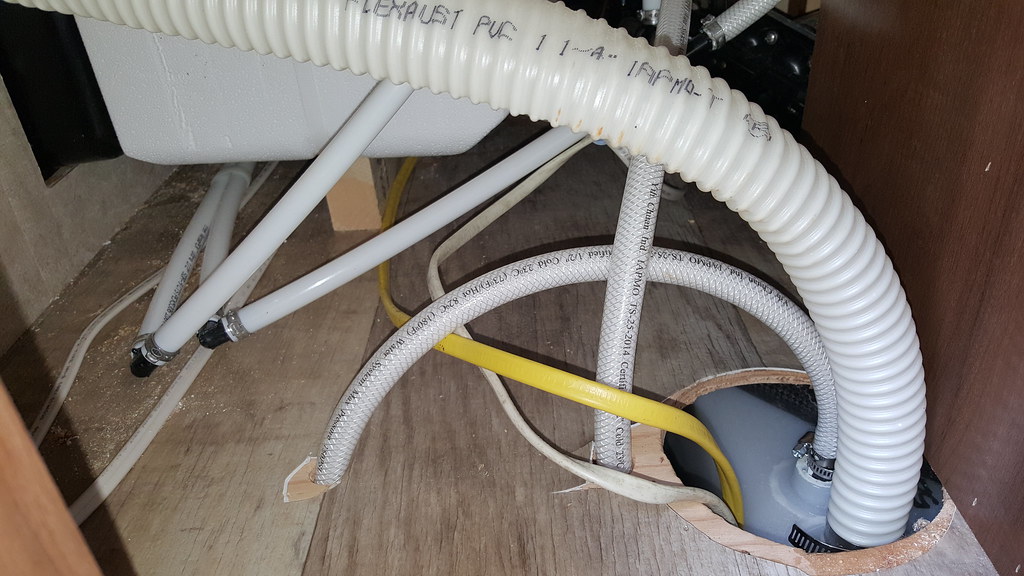
Once I fished all the wire in, I put my hand up in the area between the floor and the underbelly till I felt the fish wire, and pulled it out. Then I attached two chunks of romex (14 ga) to the pull wire and pulled it back while my wife helped to feed it from the front of the RV. I used two different colors because I had them, and it helped me tell the in (to the inverter) from the out.
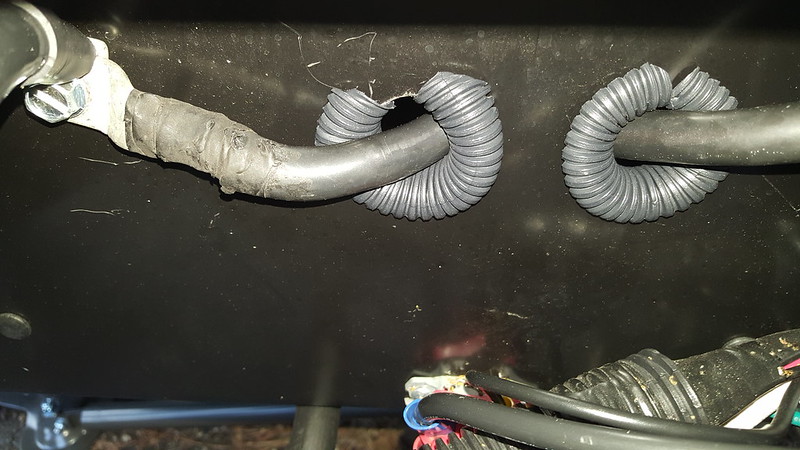
Next, I drilled two 7/8's holes in the front for the battery cables. I dressed the holes with wire loom. I plan to go back and RTV the gaps, however based on how poorly the bottom of the RV is sealed, its really not needed. I ran them up an existing hole that supplied power to the outlet in passenger front storage compartment (previous home of a second useless fridge) which is where the AC in and out also are run. I tied the negative lead to the chassis and battery. I tied the positive lead to a 150amp fuse. (BTW all cables are the same length, total about 6' 6")
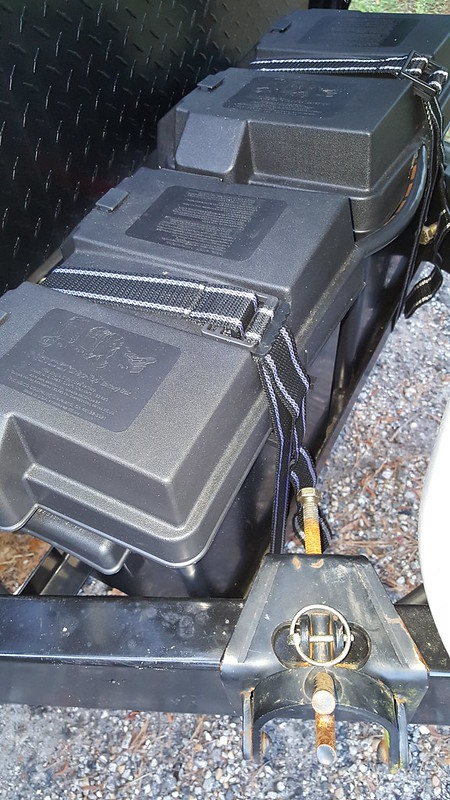
BTW, this is the batteries, 2 GC2 Interstates.
The next step was hookup and mounting wires to the inverter. I did not mount it permanently at this point so that I could fix any issues when it came to testing. Good call on my part BTW.
To wire the RV I killed the AC power at the plug, and turned the inverter off. I removed the breaker panel, removed the wire from the breaker for the GFCI curcit, and pulled it out. Pulled my inverter in wire and screwed it into place, then I wire nutted my inverter out wire to the wire I removed from the breaker panel, pulled the wires for both into a metal box and wire nutted them together.
I plugged the power in with the breaker off, and turned the inverter on, and used a receptacle tester to check for power. I had reversed the neutral and hot when I hooked into the inverter, Quickly powered the inverter down and reversed the wires. Everything tested well the second time, so I turned the breaker on, and retested. Everything was still good. Final test was killing a battery connection (I disconnected the fuse), everything was still good.
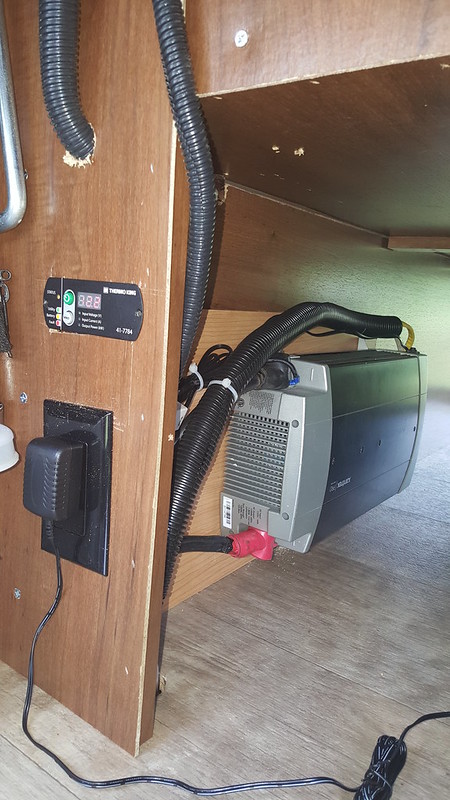
My inveter has a remote control panel that just uses regular phone cord, so I mounted that about the power outlet, I put the two AC wires inside a wire loom for aesthetics, mounted the inveter to a board, attached the wires, and then screwed the board in. I tried to mount it directly and well, I almost got stuck in the storage bit, this worked better and got less laughter from my wife.
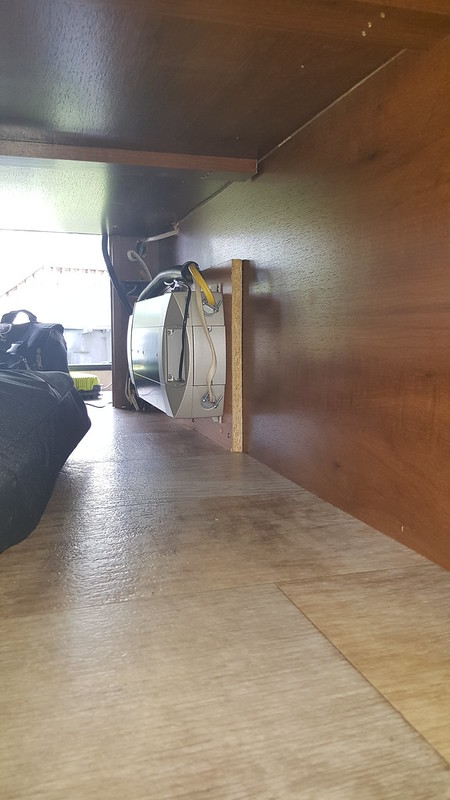
I tested running the small fridge in the back of the RV with this and after 6 hours (using battery's that had been sitting for a month without charging) I still have 12.5 volts. This should allow me to keep beer in that fridge cold while traveling. I also hope to use it to power our crockpot (sitting in the sink) for some easy meals on arrival.
I am more that willing to answer any questions you guys have. It took me about 8 hours to do this mostly because I:
1. Tried to do it without my fish tape. Too much stuff in the way to allow floppy romex to find a good path. It took me 2 hours of trying to finally give up and start the 1 hour search for my fist tape!
2. Had to move some wiring that Jayco ran over the battery trays which impeded my ability to get to GC2's upfront.
3. I thought I had romex in my supplies, but I didn't. After a trip to Lowes I found it!
4. I tried to run the power from where the circuit beaker box was at first, but the water tank seems to be in the way. I spent some time trying and then removing underbelly screws before I decided to run it from the front cabinet.